V-ray Interior Tutorial. Setup Interior Lighting in V-ray
The lighting of the interior using VRaySun and VRaySky
We shall consider the option of lighting of the room using VRaySun in this lesson.
You must perform these settings to use the VRaySun interior lighting technique.
The method is convenient because it is possible to create high quality interior lighting relatively fast, as well as to have the effect of falling sunlight.
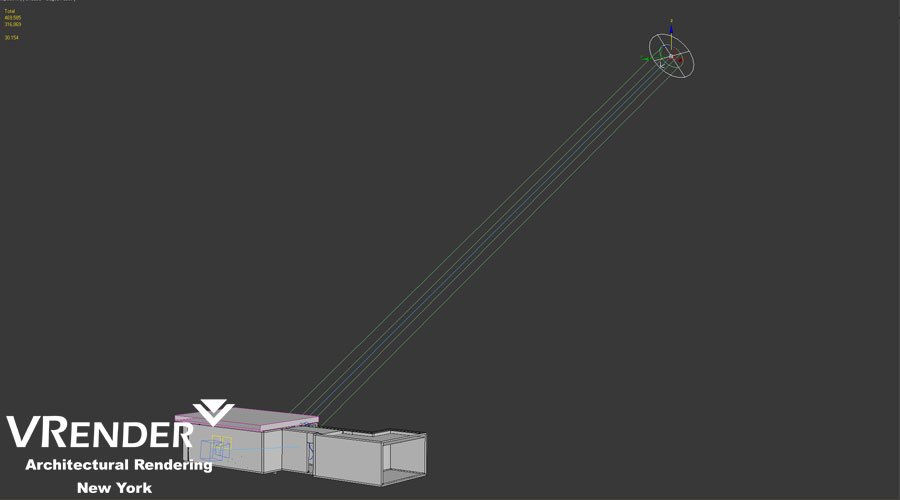
So, after you have configured V-Ray, we need to add the sun itself to the finished scene. We do it this way:
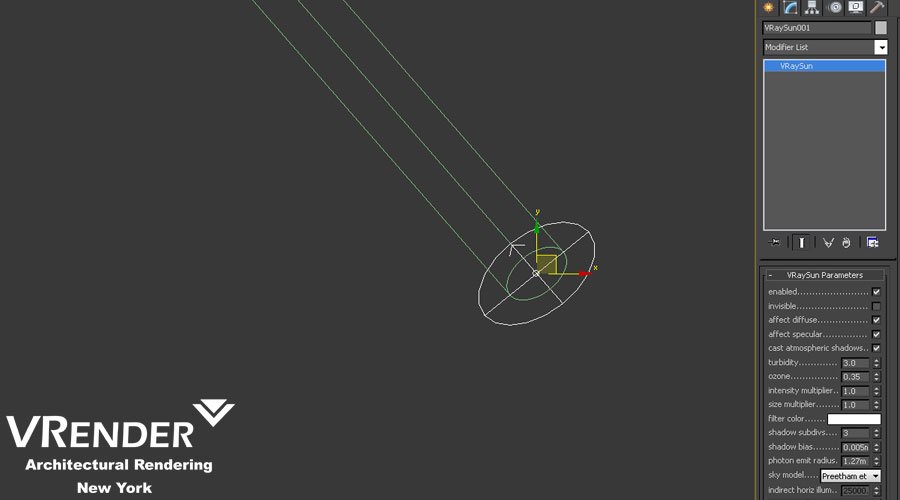
Create – Lights – Vray – VraySun
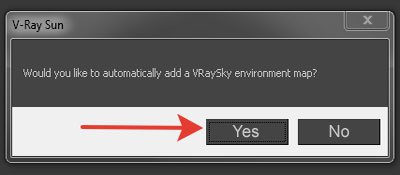
Once the sun was added, we need to agree that VRay adds own VRaySky map on the environment’s map.
We set the angle of inclination of sun optimally, so it would shine nicely in our room. By the way, the rays color depends on the angle of the sun. The closer the sun is to the horizon, the redder light from the sun will be.
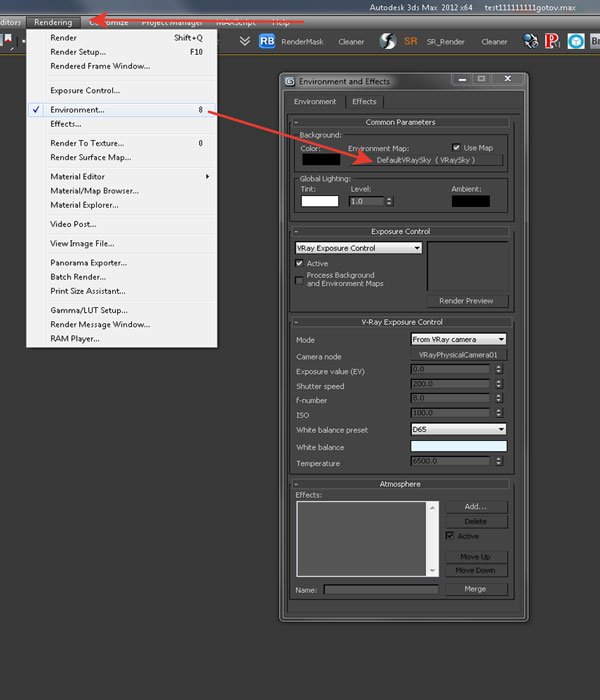
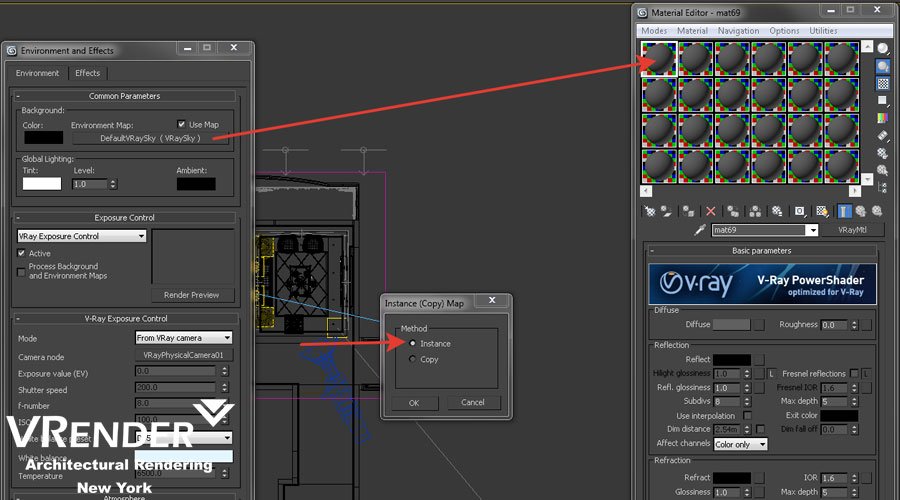
Once we have set the angle of inclination of the sun, we need to perform the following operation: to open the Environment window as it is shown on the following screenshot, where we can see that the environment map is set as VraySky.
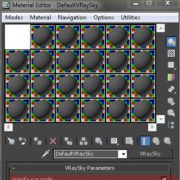
VraySun lighting consists of two components: Sun and Sky. Now we have to separate these 2 components and to manage them separately from each other. That will allow us to adjust the room lighting correctly to your liking, as well as the brightness of daylight and the intensity of the sun’s rays. To do this, we open the materials panel, and drag the VraySky lighting map there. After this, we are able to change the settings of daylight. Be sure to selects Instance copy type when you copying. Otherwise, we would have to change the settings without this parameter. But they will not be applied, as we do not do duplicate, but make a separate copy of our VraySky.
We do this it this way:
Next, we need to turn on the Manual Sun Node parameter.
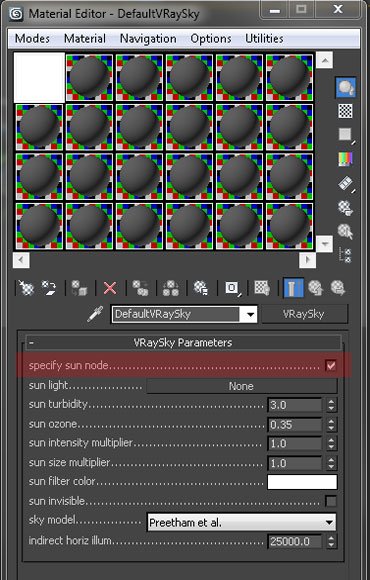
This turning on will separate the management between sun and sky.
Further, in the Sun Intensity multiplier parameter, we adjust the desirable value. It can be different for each scene, but usually this parameter is not greater than 0.1. It is best to choose it according to your situation.
Once we set up the sky, you can do a couple of trial renders to adjust the brightness of the lighting. After setting up the optimal lighting of the room, you can correct the parameters of the falling sun rays. Sometimes they are either dim or too bright, leaving a white spot. This can be adjusted in the sun setting, changing the brightness, by shifting the settings of Intensity multiplier parameter.
Then you can do a couple of test renders to configure the optimal lighting of the room.
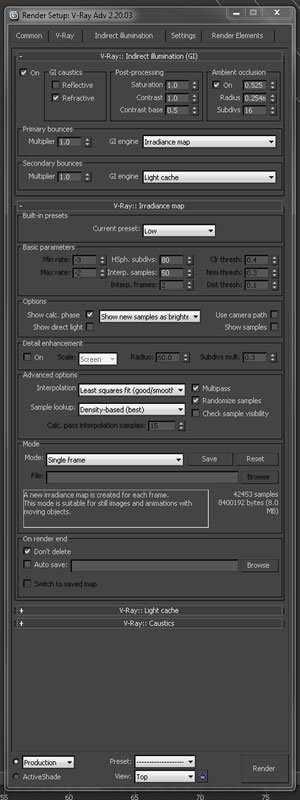
Sometimes the sky gives a blue tint, and colors the room in blue. It is possible to correct it by decreasing parameter’s value in render settings. The lower the Saturation (Rendering-Render Setup- Indirect Illumination Settings - Saturation) value will be – the less the sky affects the color of lighting in the room, but also the less objects located in the room affect it, so do not do this option’s value too small.
Add VRayLight (Create - Light - Vray- VRayLight) behind the windows with the following parameters
V-ray Indirect Illumination Settings
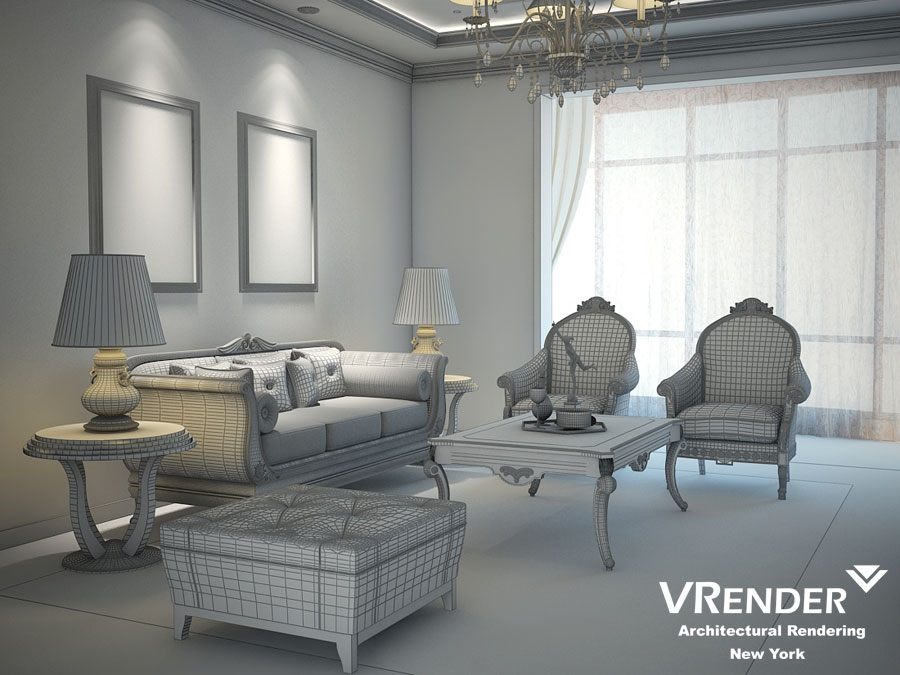
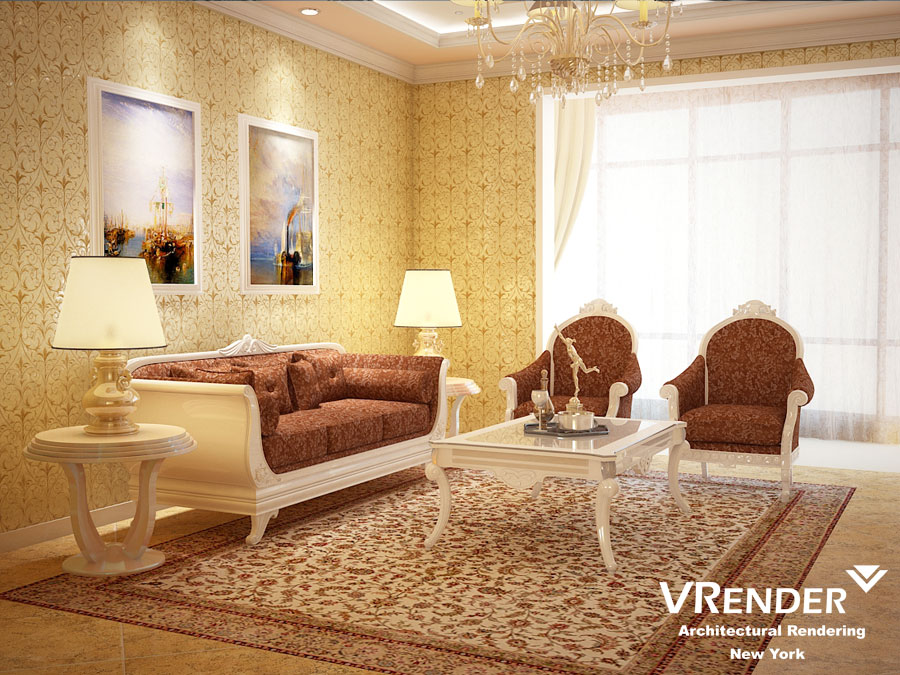
After all the settings are applied, you can receive something like this:
After Photoshop Post Production
 Download V-ray Interior Scene Tutorial Example
Vrender Company 2016.
- How to add perspective to architectural projects with digital 3D rendering help - December 24, 2023
- 3D Architectural Walkthrough Animation Services New York - April 24, 2019
- 3D Rendering Services in San Francisco, California - March 12, 2019

